


Macro photography is the art of photographing very small subjects in their life-size form. Unlike other genres of photography, macro photography doesn’t have a single category of subjects. It allows you to photograph anything you like as long as you achieve a 1:1 magnification ratio or higher. This means the size of the subject’s projection on the camera’s sensor is equal to or larger than the subject’s real size.
You can find plenty of subjects for macro photography. Nature is rich in plants, insects, rain droplets, and snowflakes. Still-life subjects can work very well for studio macro photography as well. However, finding an amazing subject doesn’t always guarantee a great photo. Due to magnification and a very small camera-subject distance, you’ll have to deal with a very shallow depth of field, camera shake blur, and motion blur. Sometimes you can’t get the entire subject in focus no matter what you do, and you’ll need to use focus stacking. When you focus too much on the subject and too little on the composition you take similar and uninteresting pictures, all having the subject in the center. Macro photography is technical and compositional challenging. However, there is nothing you can’t learn. Check out the following tips and take better macro photographs in no time.
Connect with the subject
While you can choose from a wide range of subjects suitable for macro photography, it’s better to choose subjects that mean something to you. If you prefer nature photography and choose to photograph insects and flowers, make sure you don’t harm your subjects. Research their life cycle and learn where you can find them and when it’s the best time of the day to take pictures.
Maybe they are morning animals and look amazing covered in dew. Maybe they blossom at sunset and provide exquisite golden hour colors. Connect with your subjects to a deeper level. Don’t focus just on the aesthetic part. Your photos should tell a story. Macro photography is a great way to raise awareness, explore the unseen part of the world, or make a statement.
If you photograph insects or flowers, check out the local entomological or botanical societies. You can find many useful tips about where and when to spot rare species, how to approach them, and what their actions mean.
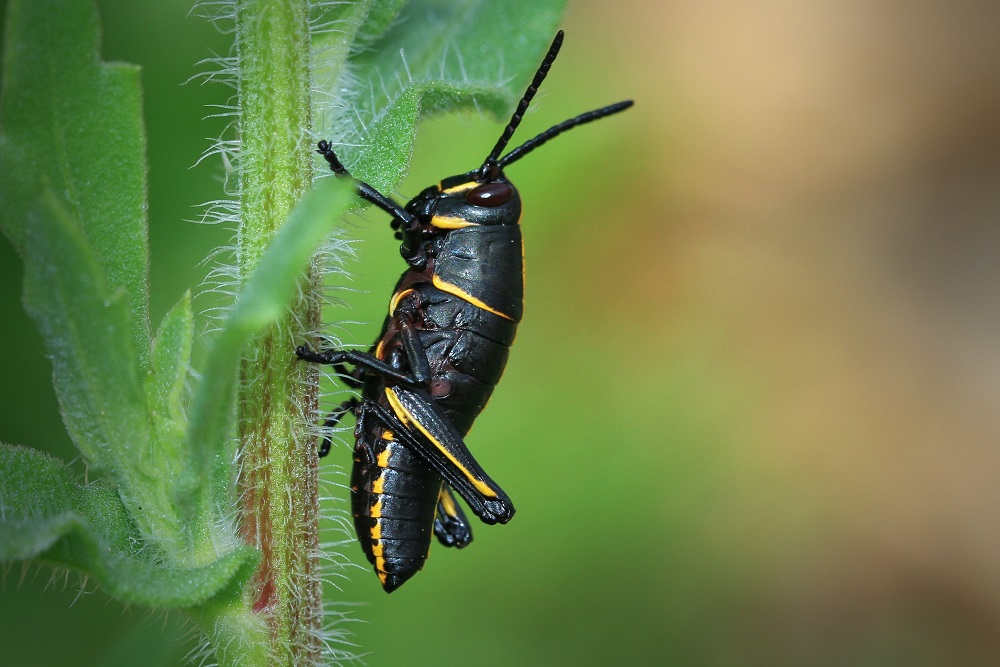
Image source: pexels.com
Don’t let bad weather scare you
Many photographers are afraid to get outside and take pictures in bad weather conditions. However, you can find amazing subjects for macro photography when it’s raining or snowing. Droplets, wet plants and insects, and frost are just some of them.
Besides, because you focus on very small subjects you can almost always change your location, move to shelter under a tree, and continue to take photos. Just make sure you protect your gear and yourself from the elements. Otherwise, you’re good to take macro photographs in any season and weather.
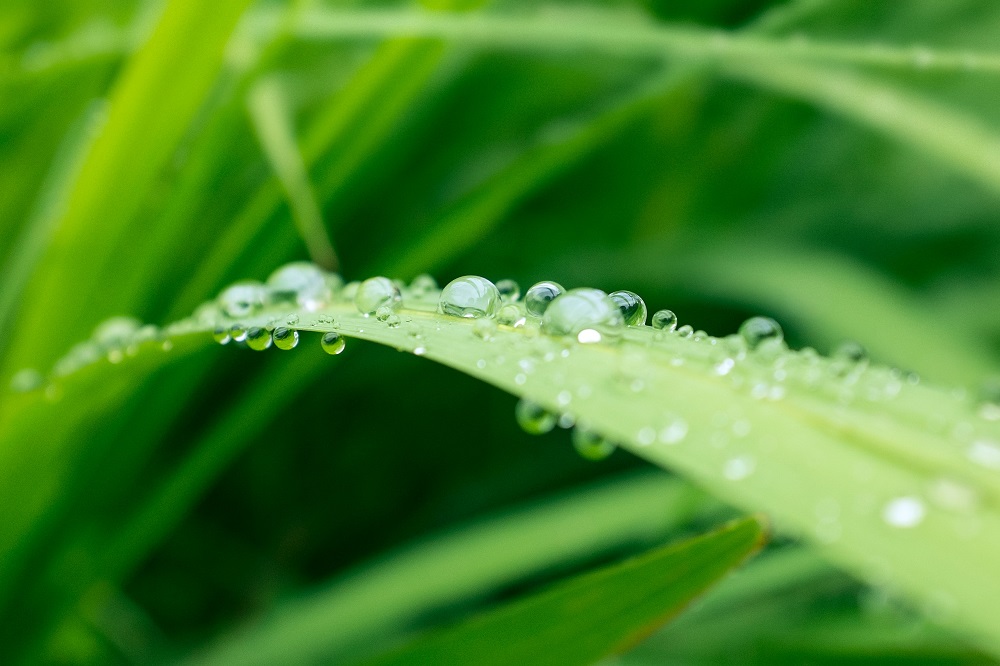
Image source: unsplash.com
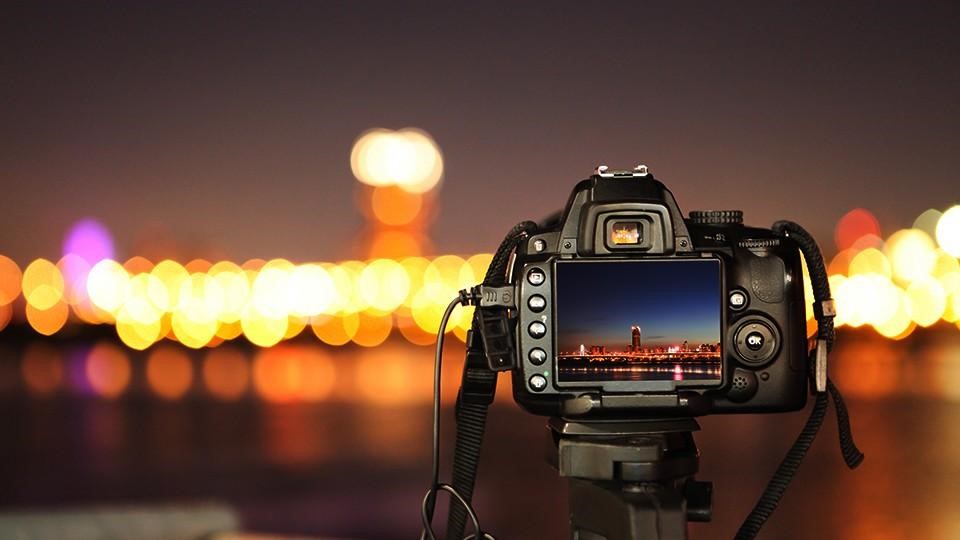
Choose the best focal point
Having a strong focal point is the essence of macro photography. You need to make sure you have an area in focus, sharp, and clear. Sometimes the subject is small enough to be entirely in focus. Other times, the depth of field is too shallow or the subject is too big and you have to choose a part of the subject that will be in focus. Each picture is different, of course, but many nature photographers choose the eye of insects or the center of the flowers as a focal point. Observe the subject from different angles; get down to its level; and choose its best feature, the one that will capture the public’s attention.
As a general rule, focus manually; don’t allow the camera to decide the focus point in your place. Also, take a series of pictures for each scene, slightly adjusting focus, to increase the chances of getting the right focus point. If you take pictures in a studio, use tethering shooting to view the photographs on a computer screen in real-time and check the focus.
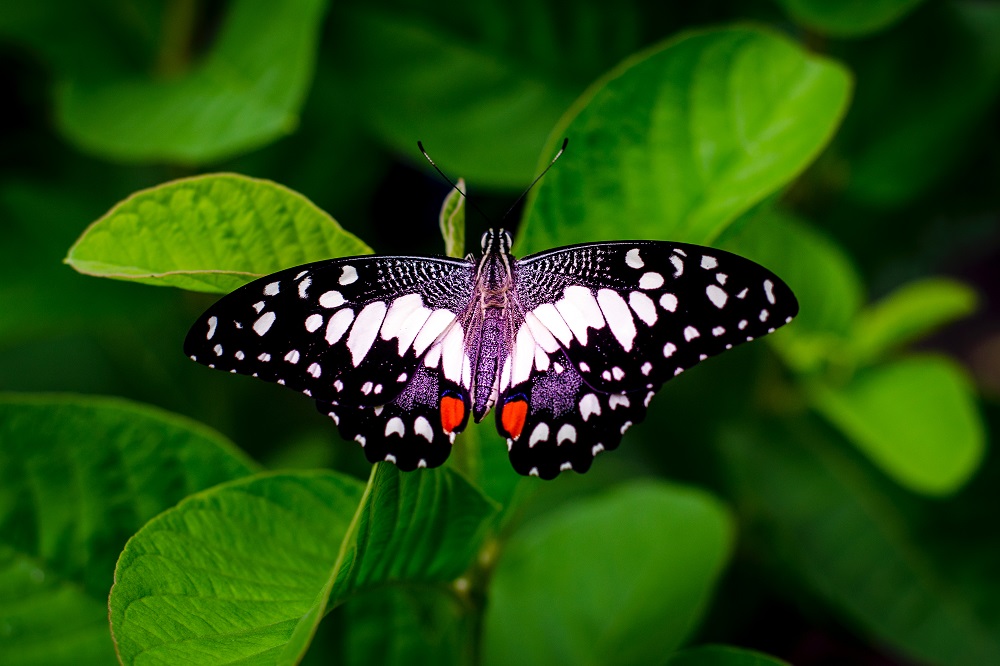
Image source: pexels.com
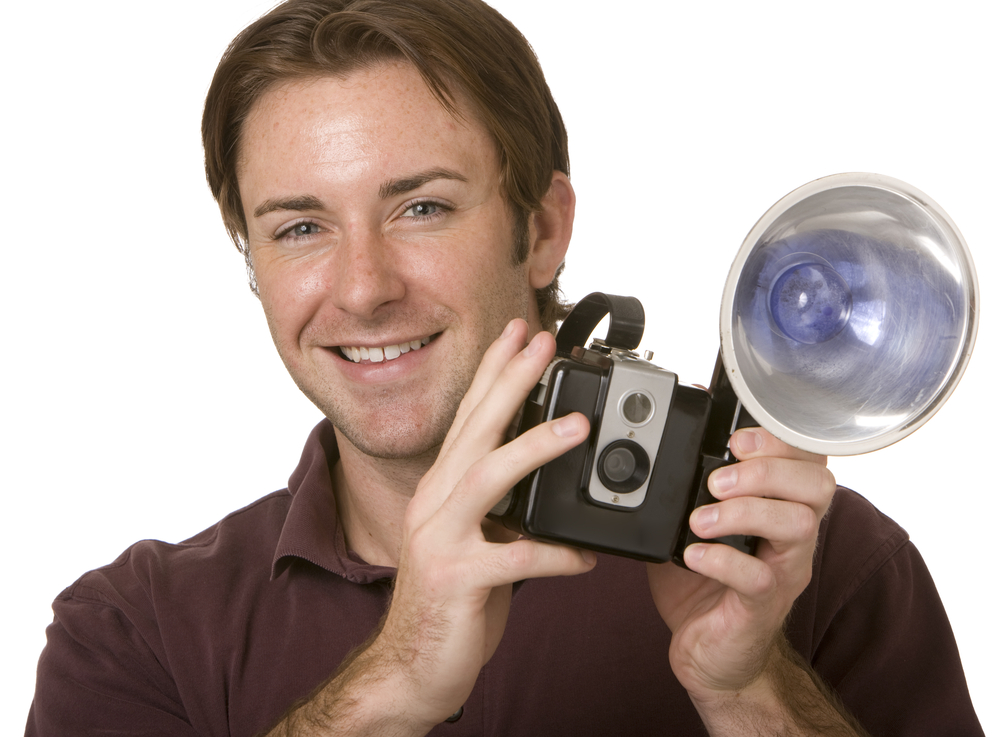
Use a flash
Having a controllable source of light gives you more compositional freedom. Furthermore, it makes exposure settings easier to achieve. Because the flash adds more light to the scene, you’ll be able to use faster shutter speeds. Faster shutter speeds give you the freedom to take pictures without a tripod and the risk of camera shake blur. More light also means smaller ISO values and less ISO noise, smaller apertures, and a deeper depth of field.
Use a ring flash or a mounted flash to illuminate the subject evenly. To change the position of the light, use an external flash or one mounted on a bracket. This will give you more flexibility when it comes to composition. You can also reduce the intensity and color of the light. Set the flash in manual mode and reduce its power. Alternatively, you can place a white or colored light diffuser over the flash’s head and transform the harsh artificial light into a softer and natural-looking one.
Flash isn’t just for studio photos. You can mix the light coming from the flash with ambient light and create amazing compositions.
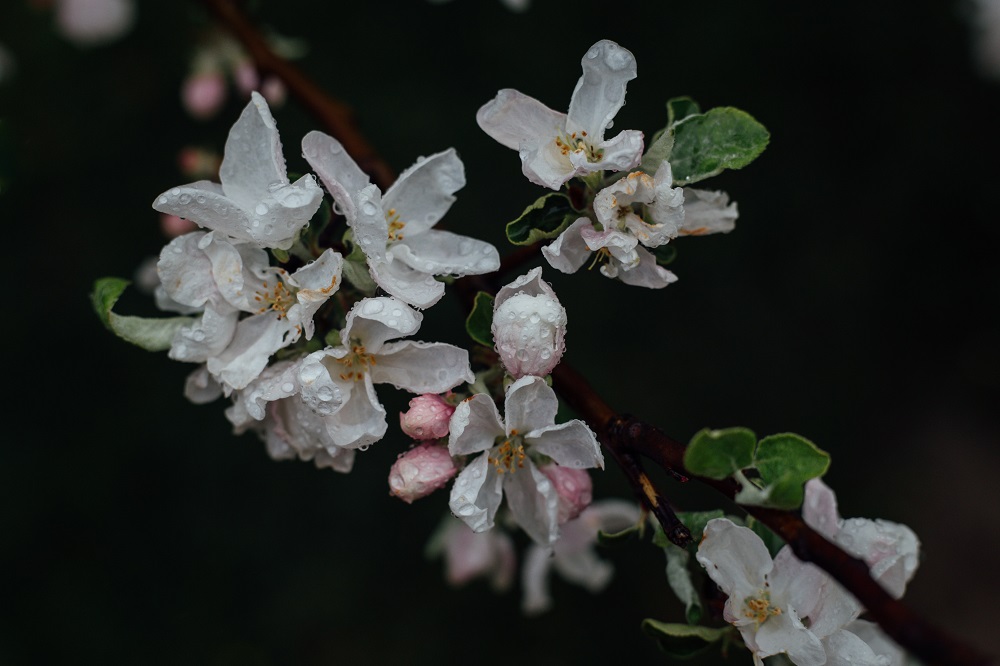
Image source: unsplash.com
Follow the rules of composition
Even though most of the time your photos will have a single subject and a blurred background, rules of composition apply. Use the rule of thirds to place the subject in the most appealing place in the frame. If you photograph animated subjects, give them perspective by leaving more space in front of them than behind them. Use leading lines, reflections, or the golden triangle rule. Make use of textures and patterns.
Macro photography uses the same composition rules as any other type of photography. To make your subject stand out, make sure you have enough negative space left in the frame. Don’t clutter the subject with a too busy background. At extreme, you can reduce the background to black by illuminating the subject with a high-intensity flash light.
Nature is full of symmetries and reflections, which look amazing in close-up photos. For example, instead of framing an entire flower, get closer and photograph the symmetry of petals. Or look for reflections in dewdrops. An entire universe is waiting to be discovered.
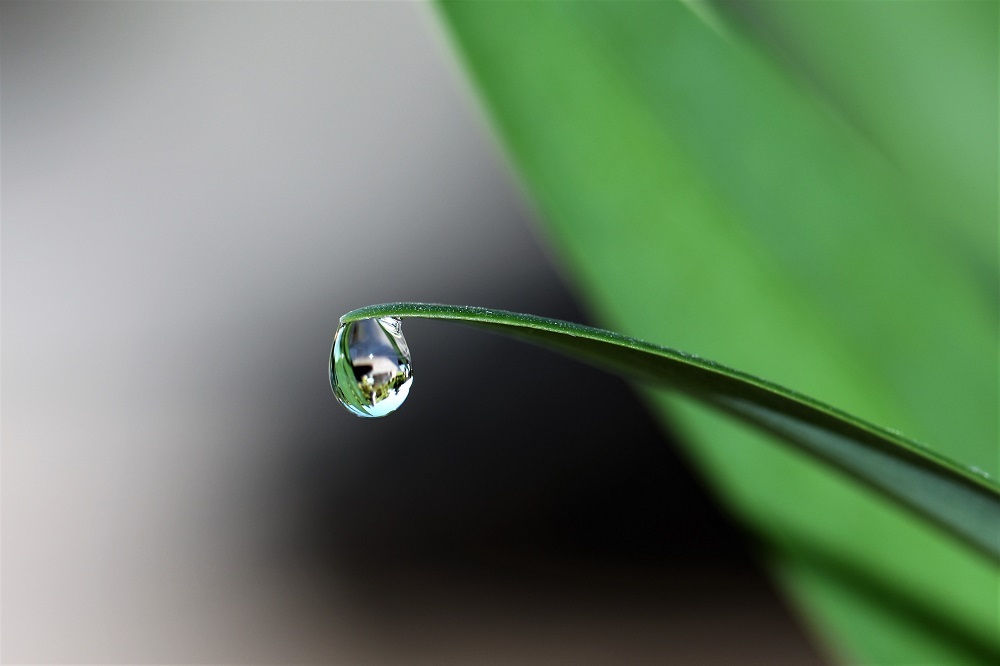
Image source: pexels.com
Use post-processing at a minimum
Usually, macro photographs, especially those featuring natural subjects, don’t need too much post-processing. Limit editing to fixing exposure, enhancing colors, and making small adjustments. Complex filters and special effects are too much for the delicate nature of macro photographs. If you need to crop your images, use the same aspect ratio for all of them to maintain a consistent style over your portfolio. Also, when you need noise reduction and clarity enhancing adjustments apply them locally.
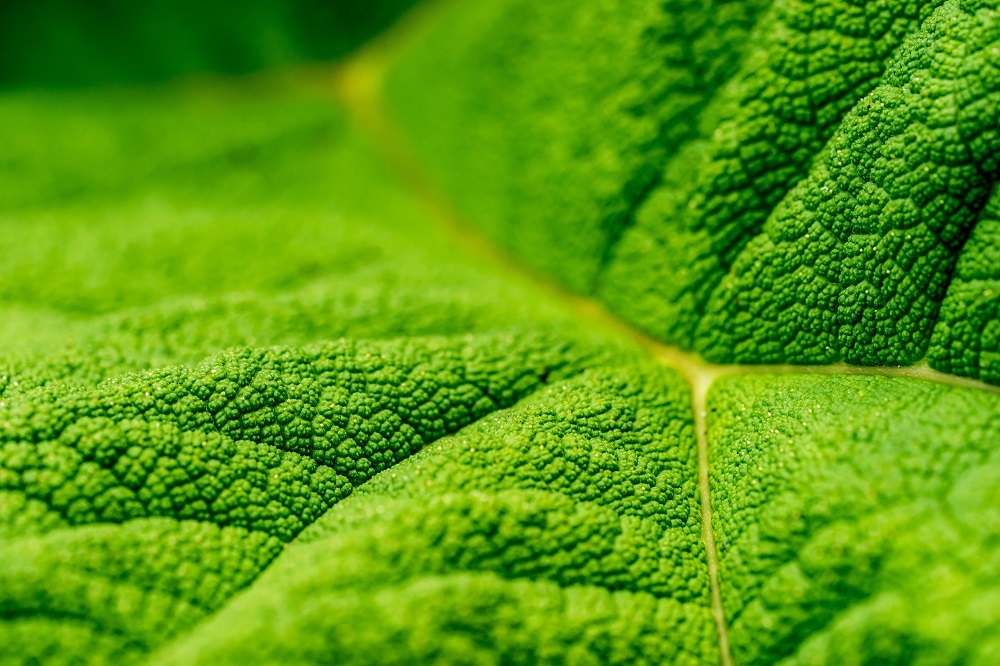
Image source: unsplash.com
Macro photography is artful, delicate, and meaningful. It requires patience and passion, dedication and connection. To do it properly, you need to care about your subjects, understand their stories, and be willing to respect their authenticity. Even though the technical part challenges you, don’t forget about composition. Experiment with different perspectives and angles and make the best of the scenery. The best tip for macro photography is to trust your creativity and artistic voice.


Add Comment