


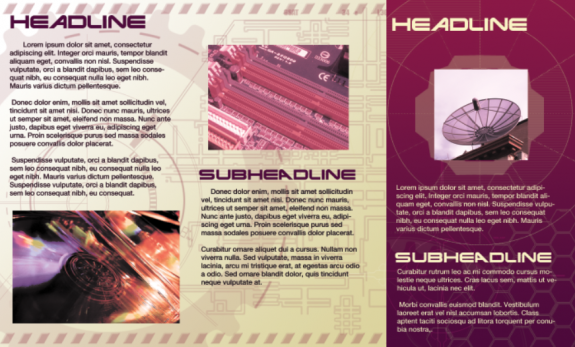
There’s more to designing an astronomical poster than just pasting in a free image from the Hubble image archive. If you truly want your own creative space-themed poster, you have to create those space elements on your own. Here are the steps:
STEP 1
Setup your poster document correctly. To be on the safe side, it is best to use standard poster dimensions as advertised by printers. One of the smallest but widely used dimension is the 11×17 inch poster, so in this example we have set that. Also it is important to set a high resolution of 300ppi, and a color mode of CMYK for four color printing.

STEP 2
The first initial step is to simulate a galaxy or nebulae. The easiest way to do this is to find a smoke type stock image. In our example we found a nice and free stock photo of smoke. We have positioned it diagonally across our canvass.

STEP 3
Now, create a new layer by pressing CTRL+SHIFT+N. Then, using a very large soft brush paint in three colorful spots into our canvass. Try to encompass a large area of the poster. Do not worry we will be creating this as a color effect.

STEP 4
Now, change the blend mode of this color layer to “Overlay” and reduce the opacity a bit to 78%.

STEP 5
Now, depending on the smoke image that you got, it may be necessary to smudge the image to get the best effect. So, using a large soft brush with the smudge tool, smudge up and make swirls from your smoke image.

STEP 6
Next, create a new layer on top of this layer. Press D and X to make the colors of the foreground and background to black and white. Afterwards, go to Filter -> Render -> Clouds. You will see cloud shapes appear in you’re your new layer. Change its blend mode to “Screen” and then reduce its opacity a bit.

STEP 7
Now, create a new layer on top. Fill it with a black color. Then go to Filter -> Noise -> Add Noise. Use an amount of around 8, with a Gaussian distribution and of course tick the box for monochromatic.

STEP 8
Once done, adjust the levels of this noise layer by pressing CTRL+L. Move the white point slider down, increasing its value a bit to make the white spots of the noise appear better. This will simulate our far off star field.

STEP 9
Then, switch the noise layer’s blend mode to screen. Then click on the create layer mask option in the layers panel and use the pain brush to darken parts of the “star field” while emphasizing others.

STEP 10
Now, we shall create stars that are a bit closer. There is already a brush called “starburst” included in Photoshop by default, but you can also try and use some free ones from the Internet such as this one. Before using this brush though, we adjust some of its properties. So once downloaded, go to the brushes panel and adjust one of the star brushes’ tip shape spacing to 1000%.

STEP 11
Next, click on Shape dynamics. Adjust the size jitter to 100%.

STEP 12
Then, click on “scattering”. Click on the checkbox for both axes. Adjust the scatter to 1000%. Use a count of 1.

STEP 13
Now, just create new layer for these stars and brush them to existence into the canvass with a white color. Remember to periodically change your diameter so that you can simulate closer and further stars.

STEP 14
Then, double click on our star brushes layer to access its layer options, Click on “outer glow” and change the color to light blue. This gives us better hotter burning stars.

STEP 15
Remember that you can add a layer mask to this stars layer and use a black brush to darken some of the brighter stars for extra variation.

STEP 16
Then, wetype in our text using the type tool. Make sure you use very thick font styles so that they are easier to see. We have colored our text black for now.

STEP 17
Create a layer mask on the text layer. Then go to Filter -> Render -> Clouds. This will randomize some erasures on the text.

STEP 18
Then duplicate the text layer by pressing CTRL+J. Go to Filters -> Blur -> Gaussian Blur and use a 6 pixel radius to add a more blurred effect to the text. NOTE that you will be asked if you want to rasterize the type. Change the text layer’s blend mode to Overlay as well.

STEP 19
Finally use select the layer mask and render some clouds again to randomize some erasures or the blurred area. You may also want to use your brush to do this.

STEP 20
Now, create a new layer just behind our text. Pain some white spots into it so that we emphasize the text with bright bursts.

STEP 21
Next, create a new layer on top. Paint some more colorful spots into it. Change the blend mode to overlay to get a more colorful burst effect.

STEP 22
Then, create a layer mask in the color spots layer. Do the trick again with the rendering of clouds. Go to Filter -> Render -> Clouds. Change the blend mode of this layer to “Color Dodge” for a more dramatic effect.

STEP 23
Create a new layer on top. Paint a white spot using a soft brush tool. Then use the rectangular marquee tool to erase half the spot like so.

STEP 24
Then with the half spot layer selected press CTRL+T. Transform your spot into a thin ray and then rotate it 45 degrees.

STEP 25
Then, just duplicate this light streak across the design.

STEP 26
Finally, once you are done, merge all the streak layers and change their mode to Overlay to add a very beautiful streak effect with the background.

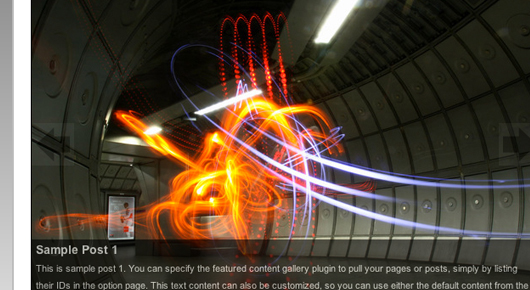
FINAL IMAGE
Great! Now you have completed our colorful space themed poster. You can also apply this effect to postcards, flyers, even business cards and it can be just as effective. Just adjust your canvas size in the first part of our tutorial and you’re all set.

Irene Thompson is a professional writer and a graphic designer. She is so much inlove with arts and design. She also works at PrintPlace.com, a trusted online printing company that offers catalog printing, postcards, and other powerful printed marketing materials. You can find her on facebook.

creative design and nicely done.
Thank you TL!