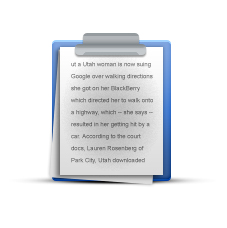
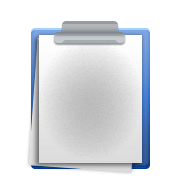
This step-by-step Photoshop graphic design tutorial involves designing stylish clipboard icon.
Preview:
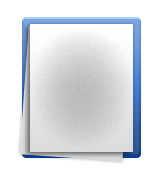
Stylish Clipboard Icon Design.
Step 1:
Let’s start out by creating a new file. I used a 400×400 pixels canvas set at 72dpi, and I filled my background with white. Now make a new layer set and name it ‘Clipboard’. In a new layer draw a light blue rounded rectangle with a very low corner radius, #477ED1 color shade and 119 x 141 px dimensions.
Step 2:
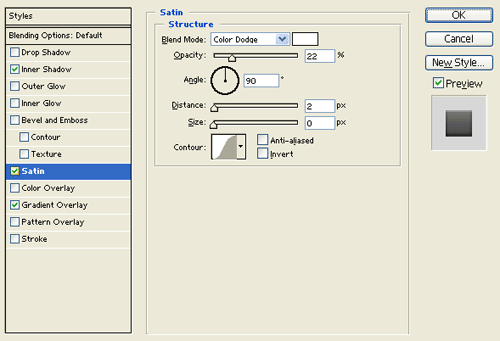
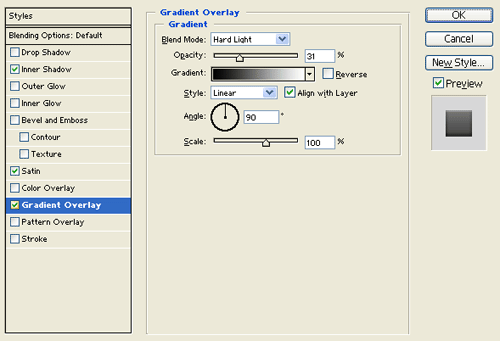
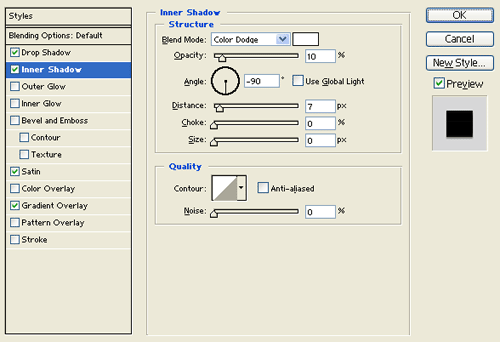
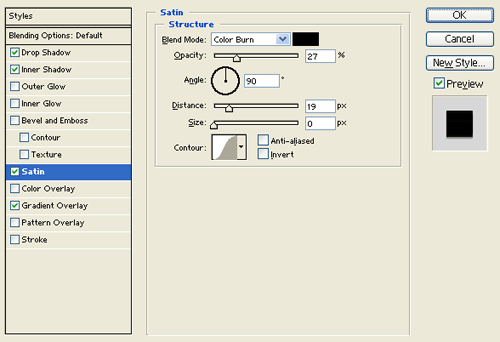
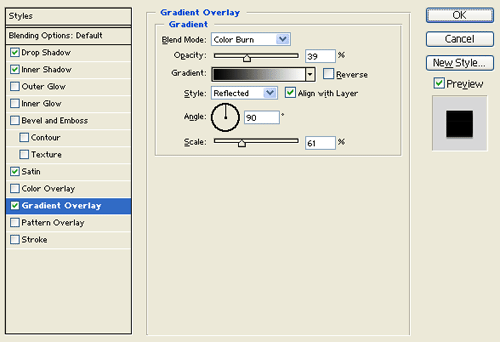
Under Layer Style(Layer > Layer Style) add an Inner Shadow, Satin, and Gradient Overlay blending options to the light blue rounded rectangle layer.
Result:
Step 3:
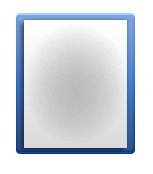
In a new layer draw a white rectangle with 103 x 128 px dimensions.
Step 4:
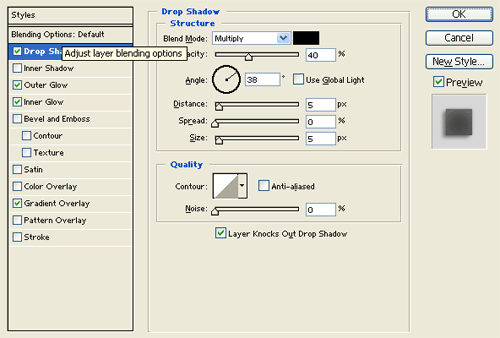
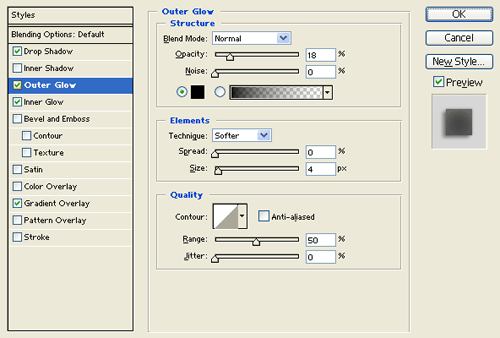
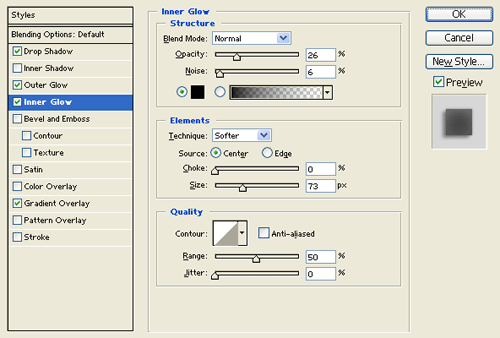
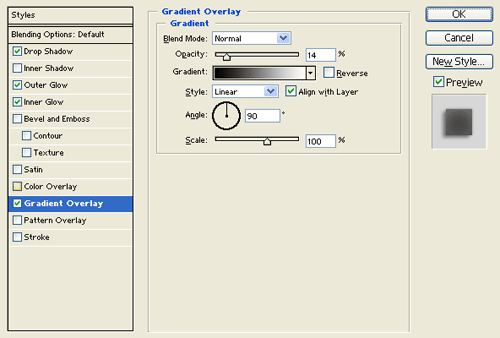
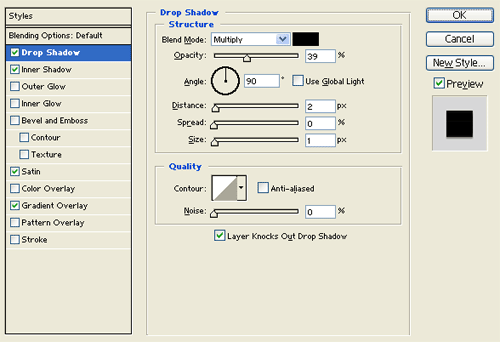
Under Layer Style(Layer > Layer Style) add a Drop Shadow, Outer Glow, Inner Glow, and Gradient Overlay blending options to your white rectangle layer.
Result:
Step 5:
Duplicate the white rectangle layer and rotate it to the left by a few pixels. On the layers window place the duplicate white rectangle behind the original white rectangle layer.
Step 6:
In a new layer draw a small gray rounded rectangle with a 10 px corner radius, #B2B6B9 color shade and 71 x 11 px dimensions. Then draw a smaller gray rounded rectangle on top of the first.
Step 7:
Under Layer Style(Layer > Layer Style) add an Outer Glow, Inner Glow, Satin, and Gradient Overlay blending options to the gray rounded rectangle design from the last step.
Result:
Step 8:
Select the Horizontal Type Tool. Set the font family to Arial, regular, 6 pt, smooth and black color shade. In a new text layer type some random text on the clipboard.
Results:
Stylish Clipboard Design.









Very nice result. Keep up the good work!
Great tutorial. Very 3d looking. You’d think that clipboard icons would be much easier to find. Thanks.