


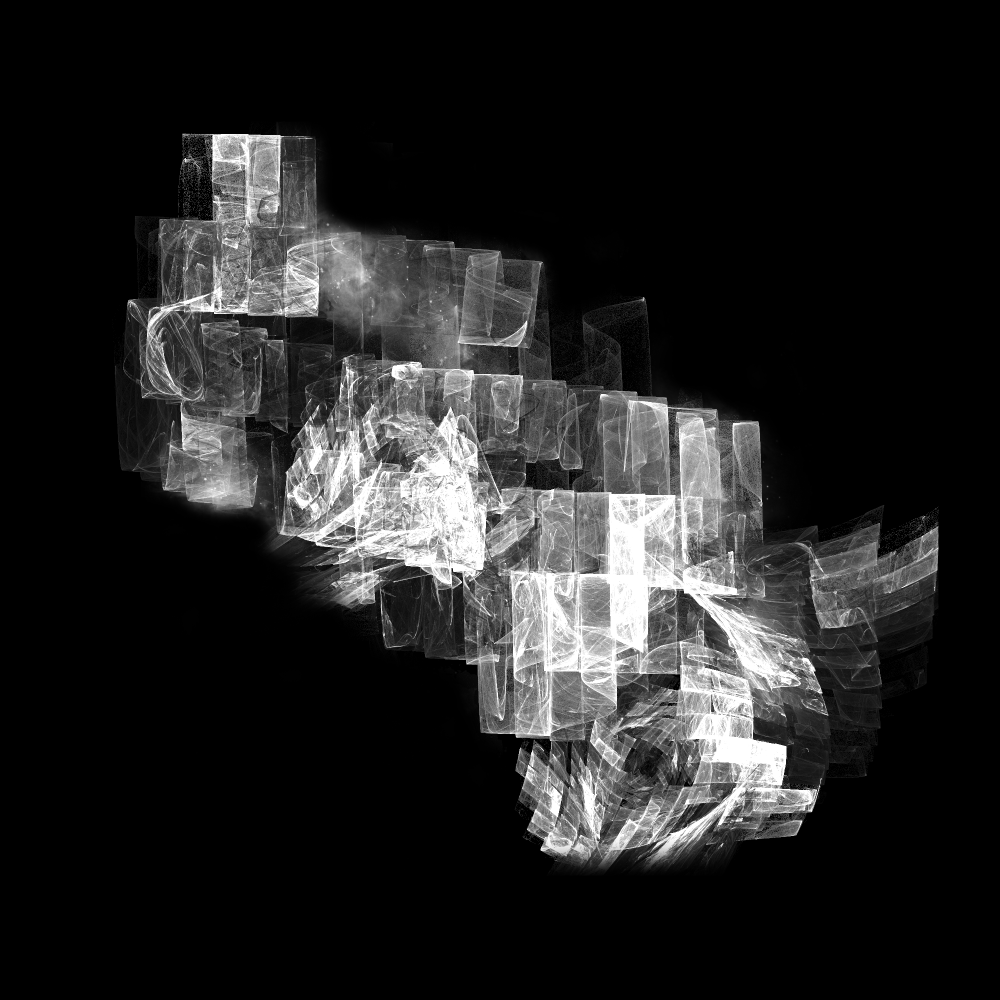
Hi everyone, today we’ll create an amazing 3D text effect, for this we will need a little bit of help from our illustrator and Photoshop. We’ll give our text effect a very unique out of this world look; seriously we’ll make it look kind of like falling meteorite. So before we start, let’s see what ingredients we need; Photoshop, illustrator, star brush set and a few fractals. You can create your own fractals using Apophysis. I’ve use these 1 and 2.
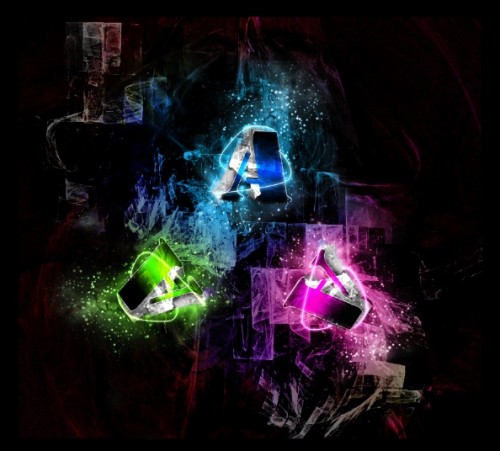
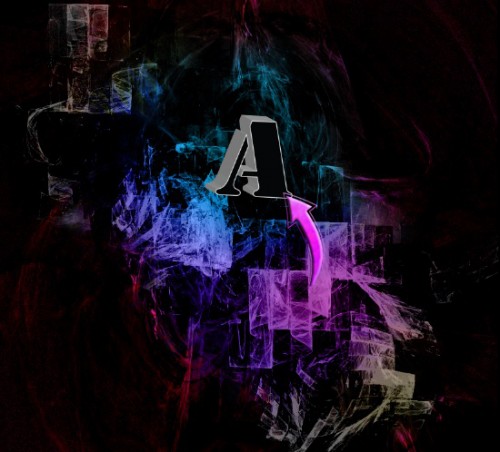
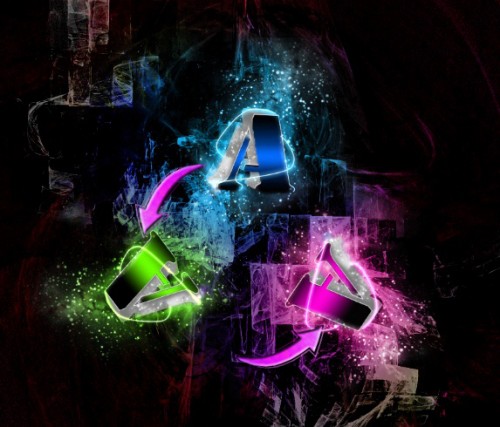
Now let’s have a look at our final result:-
Step 1:-
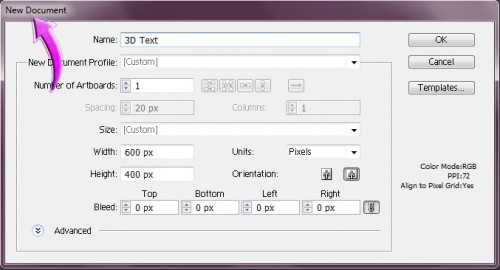
Open your illustrator and create a new file.
Step 2:-
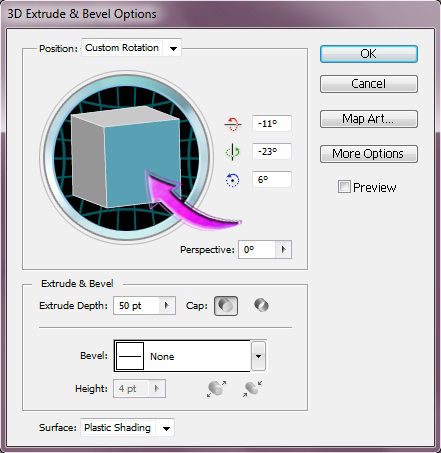
Now select the “Type Tool” and add text. You can write whatever you want. I’m using the initial of my name “A”. Make sure you select a solid font for this. And then click on Effects> 3D> Extrude & bevel options.
Step 3:-
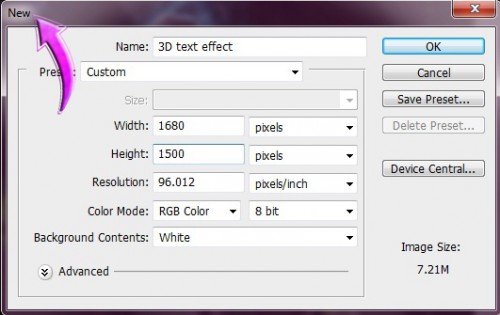
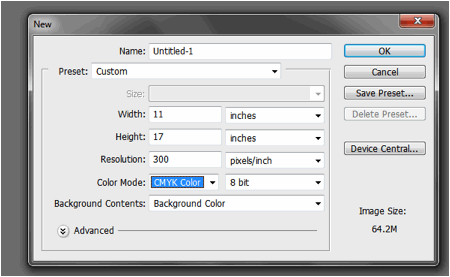
Now open your Photoshop, and create a new file with 1680 width and 1500px height.
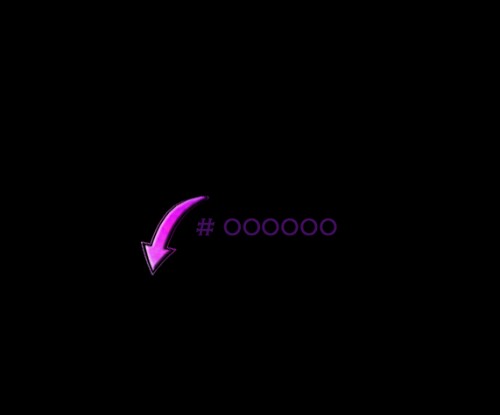
Step 4:-
Select the “Paint bucket Tool” and fill the background with # 000000.
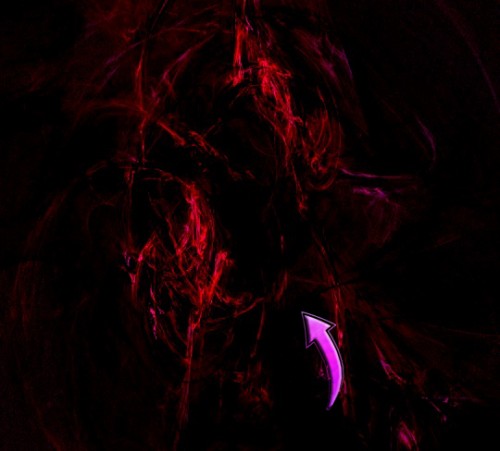
Step 5:-
Now open the fractal and paste it to our main file.
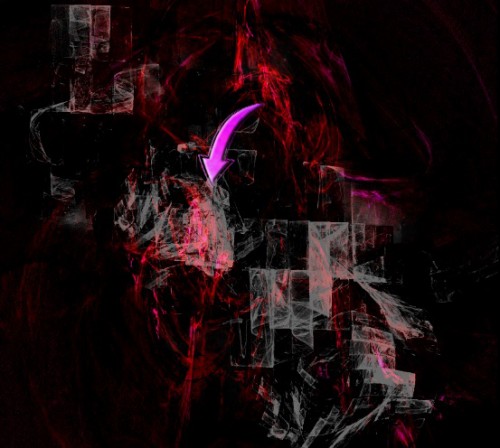
Step 6:-
Open the second fractal and paste it in the middle. Now click on Layer> Layer style> Blending options and then change the blending mode to “Overlay”.
Step 7:-
Now create a new layer, so click on layer> new> layer. And select the “soft round brush” use it randomly in the middle with colors # 00bff3 and # 882a8c. Then change the blending mode to “Color”.
Step 8:-
Our background is done and now we can paste our 3D text on it. So copy the text from illustrator and paste it on our file.
Step 9:-
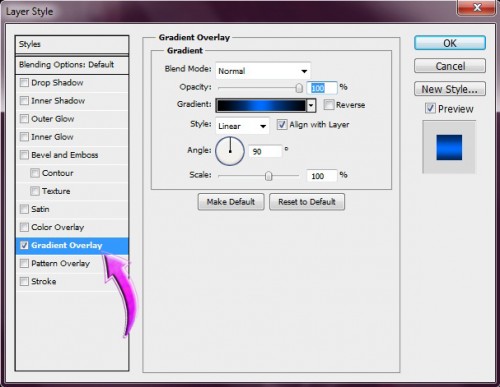
Now let’s add some nice gradient to our text, for this click on layer> Layer style> Gradient Overlay. And add a nice blue gradient.
Step 10:-
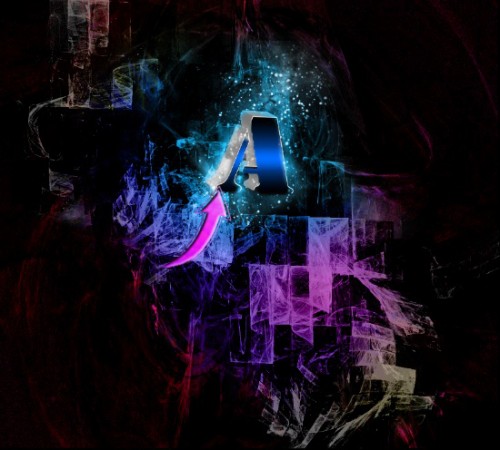
Now select a brush from the brush set mentioned above with color # 5ed4ff and use it on our text.
Step 11:-
Select “Hard round brush” with 2px size and foreground color # ffffff. Now use it on our text to create swirls.

Step 12:-
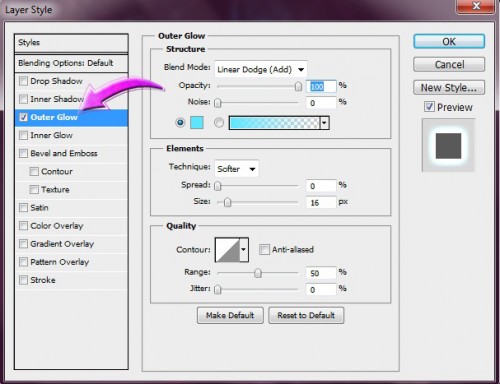
Now add outer glow to the lines we have created above. Add outer glow of color # 5ee6ff.
Step 13:-
Now repeat the same process and create 2 more “A” with different colors. I’ve used # 4dfe00 and # fd01d3.
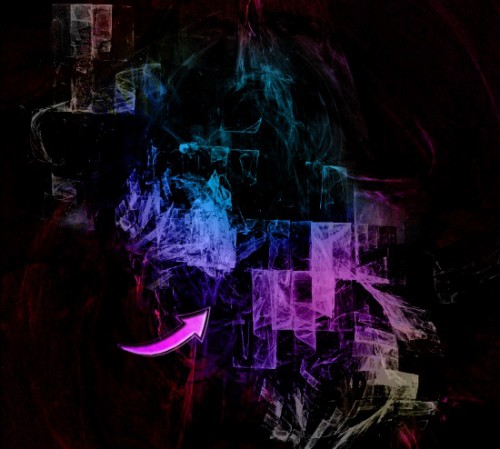
Step 14:-
Again paste the fractal 2 over our texts and change the blending mode to “Overlay”.
Step 15:-
Now we are done and if you want you can add more text.
I hope you guys enjoyed the tutorial and learned something interesting. Do try it and share your results. I’ll be back with more interesting stuff, till then take care and keep designing.

Cool Cool Cool
which font have you used if i may knoe? thank you :)