Nowadays, it’s common to have slider with latest or featured entries on our blog. It’s really nice and good-looking solution, but with passing time became dull. Some innovations are essential in order to gain our visitors attention. There is no better solution than adding some attractive elements to our top. Let’s create a wonderful top with old paper textures!
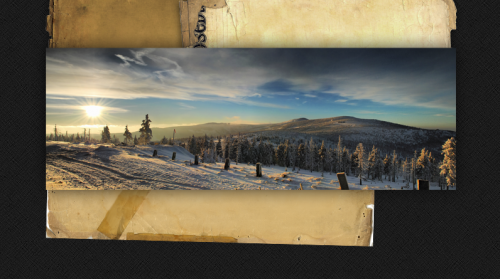
1. Create new document. Dimensions depends on size of your slider. Fill it with background that you use on your site – it’s just convenient. For your convenience place a sample image with size of your slider. Give it a drop shadow so as to bring it into prominence.
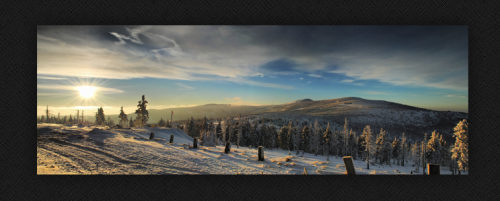
2. Now we need to find some textures. I recommend http://naldzgraphics.net/freebies/200-high-quality-free-paper-textures-to-grab/ and http://www.creativecloseup.com/30-great-free-paper-backgrounds-and-textures. Choose one and import to photoshop. Transform it and erase unnecessary parts as you wish and place under the layer with slider image. And some drop shadow too. Repeat this until you it looks well. Ok, but what if texture hasn’t got proper color, hue, saturation etc? It can look strange:
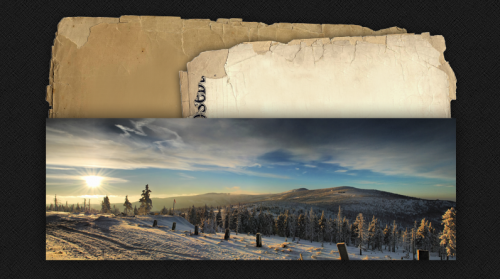
We need to manipulate it a bit. Go to Image -> Adjustments -> Curves and change it in a way that you will find proper. Even small changes:
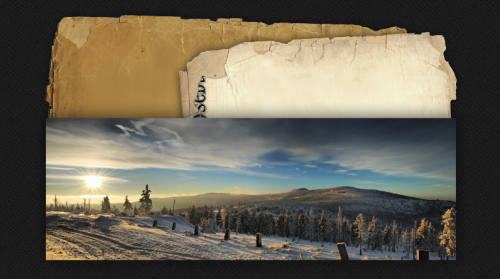
Ok, it’s better, but this paper is not grungy enough. Go to any page with photoshop brushes and get pack of grunge brushes. Use Burn Tool to make the paper looks older and dirtier.
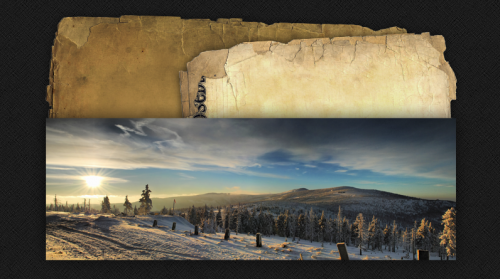
3. What if texture is not a .png with transparent background or has no ragged sides?
Import desired texture to photoshop, click on the layer with right mouse button and choose Rasterize Layer. Now we can use eraser tool.
Oh no! It looks terrible! Zoom in and using Lasso Tool try to select the area in way that will resemble ragged paper.
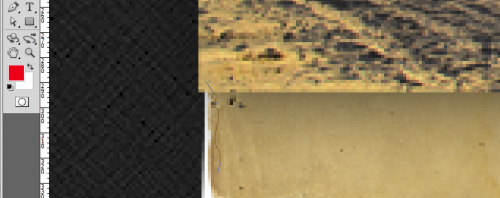
When the selection is ready just click delete. Repeat this everywhere that is necessary.
When it’s ready zoom in again and with Lasso Tool make thin, long selection:
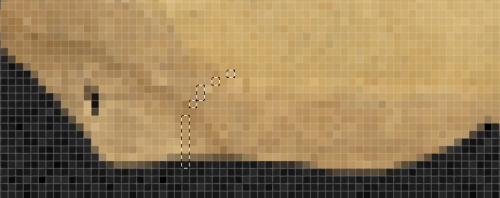
Click delete. This should be especially done in places where our earlier selection went “into” the paper more than in other places:

After adding another texture we come to this:

4. Now, when we have new top, maybe we should think about other changes? What’s about searchbox there?
Create new layer, draw a rectangle and fill with color that is similar to the color of paper on which it will lay.

Create new layer, click with right mouse button on the thumbnail of layer with rectangle. The selection should appear. Make sure that blank layer is selected. Using grunge brushes paint with brown (#501a0c) color a bit inside the selection. Then change the blending mode of this layer to Overlay. Come back to the layer with rectangle and using Burning Tool add some dark color on the sides of rectangle. Now you should have something like this:

Create new group of layers and put these two layers inside. Add a mask to the group:

Now using a grunge brush with black color get rid of sides of the rectangle. You can experiment with opacity and rotation.
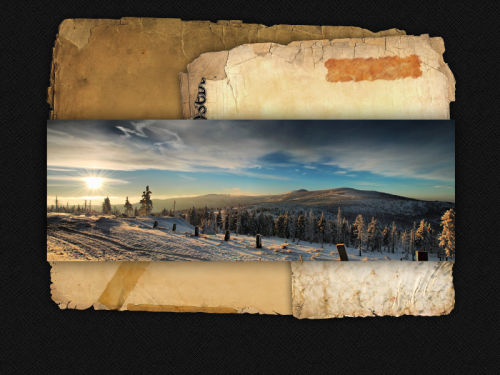
Our top is ready. While coding this you might meet one problem: how to make the rotation of searchbox? The best solution is to code it normally – without rotation and use jQuery plugin: jquery-css-transform.



What am I missing here? Why would I build a web page that looks like this, with a snow photo and grunge paper? Where does the text go? How will people know that the stained area is a search box?
Thanks, anyway for the links to the free paper downloads
woOOhooOOo!! i liked this.. whowww.. im doing this rite now.. thank you for the tips!
nice tutorial, if using texture, I recommend this website: http://www.webtexture.net they got some pretty cool grungy texture collections.