


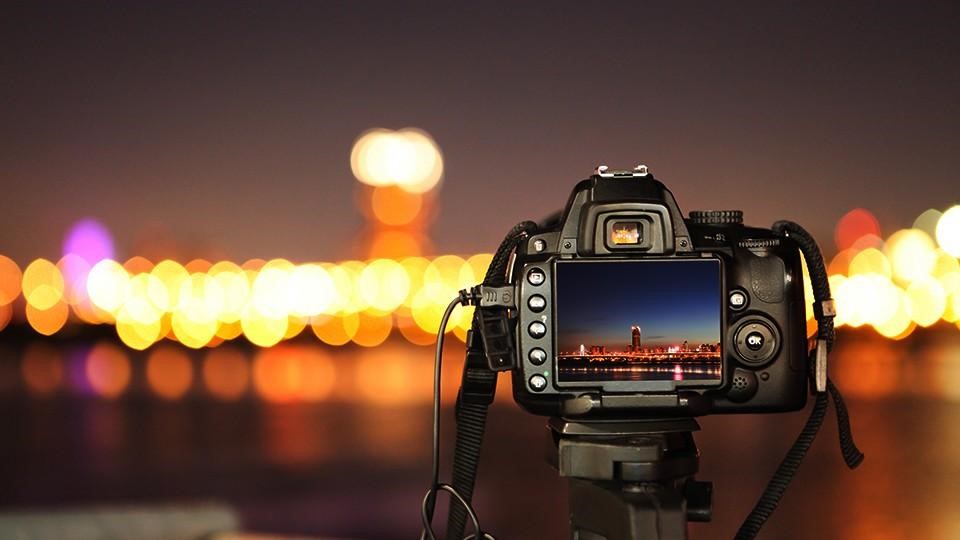
HDR stands for High Dynamic Range, a photography technique that includes a larger dynamic range of exposures. In other words, the HDR technique captures dark and light in a single image, so you’d get dark shadows as well as bright lights all in one image.
HDR photos are great because you’d get to capture both dark and light elements in an image. Digital cameras these days are more advanced than before but they are capable of only capturing latitudes of four to six stops. As such, in a scene with contrasting brightness, only the shadows or the highlights will be exposed by the in-camera meter. You’d definitely want both elements in your photos, so processing the image through HDR will give you the full magnitude of the scene.
So just how do you shoot HDR photos? Here are the few main steps:
1. Set your camera on a tripod
A tripod ensures that your camera doesn’t move between shots and that every image you take in the sequence is the exact same. If you can’t use a tripod, then you will have to hold your camera rock solid still!
2. Set your ISO setting to the lowest
This means ISO setting of 100 or 200 depending on your camera. With such a low ISO setting, the resulting shutter speed might is going to be a long one, but since you are using a tripod, so this should not be an issue. Lowest ISO setting eliminates noise in the photos.
3. Set your camera to aperture priority mode
Aperture priority ensures that the depth of field will not change and you will not get blurry photos.
4. Take 3 shots with different exposures
I recommend taking 3 shots, each at different exposures. Shoot one at standard exposure, then under expose a shot, and finally over expose another shot. That gives you three shots of the same image with different exposures.
5. Merge the photos
Photoshop is the best tool to combine the photos. You might have taken a shot of a building against a beautiful sun-setting sky. Look through your images and determine which one of the shots has the right exposure for the building and which has the correct exposure for the sky. Merge the building and sky from both shots, as well as the shot with the standard exposure and there you have it, a High Dynamic Range image.
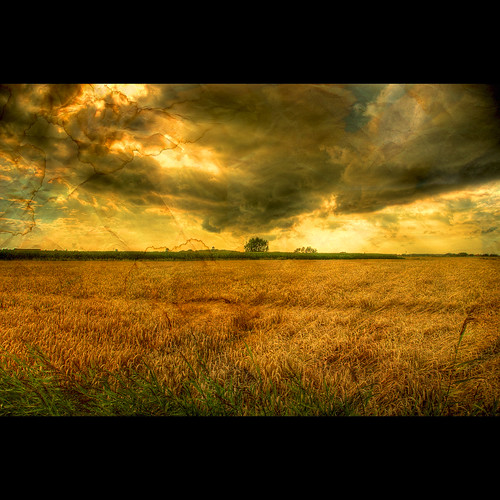
Let’s take a look at a collection of the best HDR images various photographers have taken with the steps above, in no particular order:
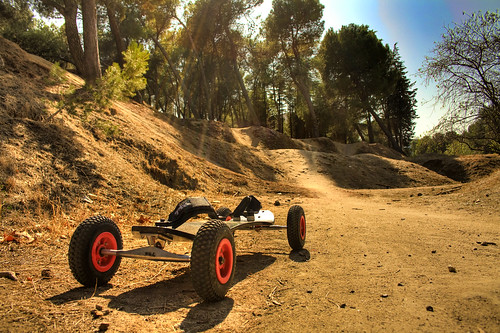
Mountain boarding
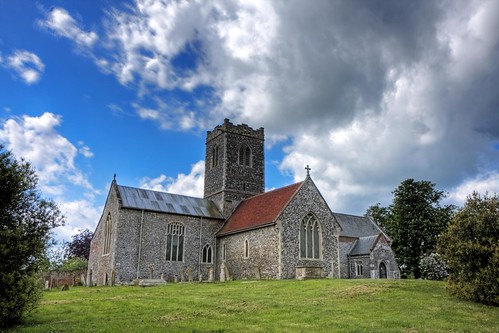
HDR St Mary’s church Aldeby Norfolk
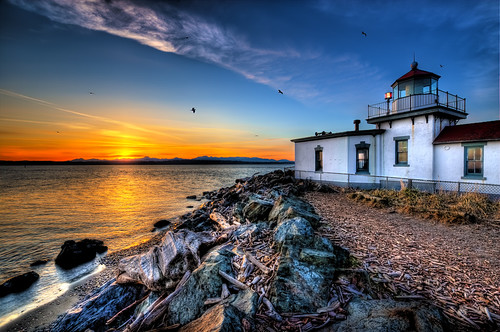
Rocky Driftwood Lighthouse
A postcard for the Margarita island

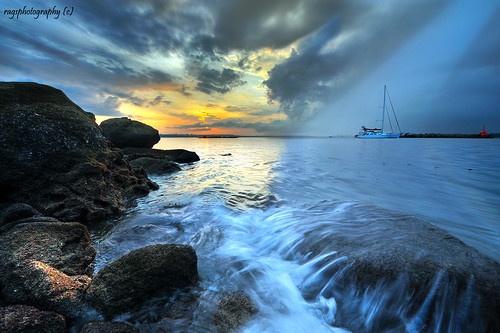
My Second HDR

Beam Me Up !
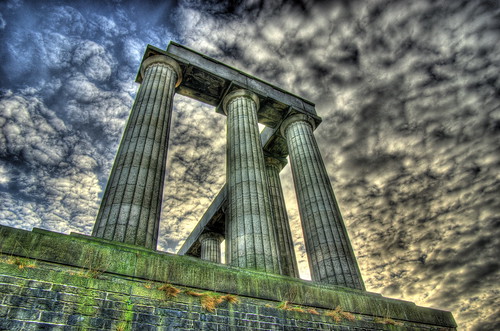
Greece is the word…
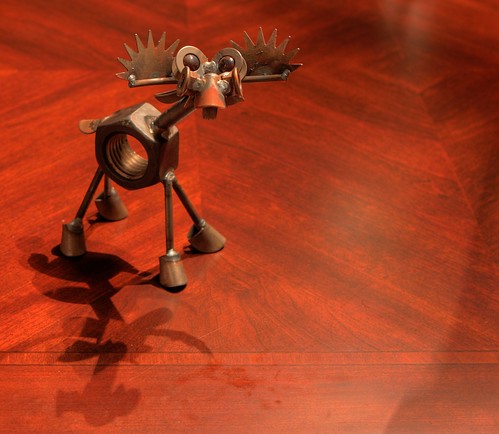
Heavy Metal Moose HDR
captured emotion
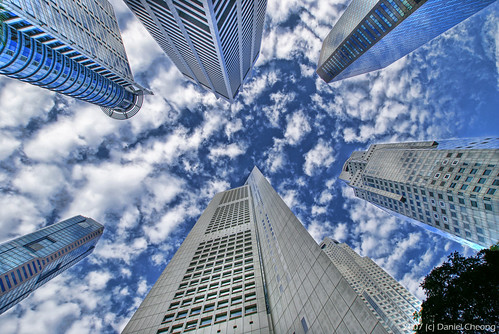
Inverted Vertigo
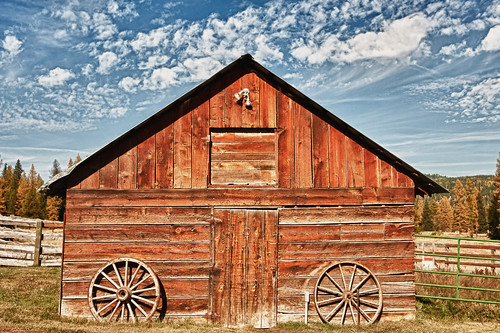
Lost Prairie Barn in HDR
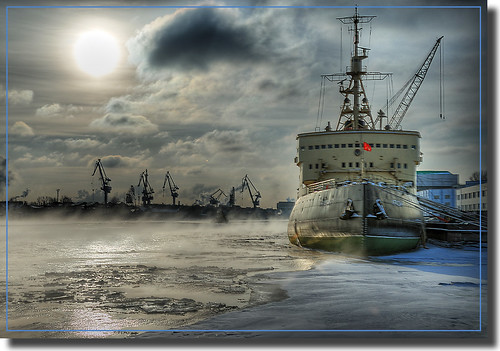
City at 60 degrees North / Icebreaker Krasin
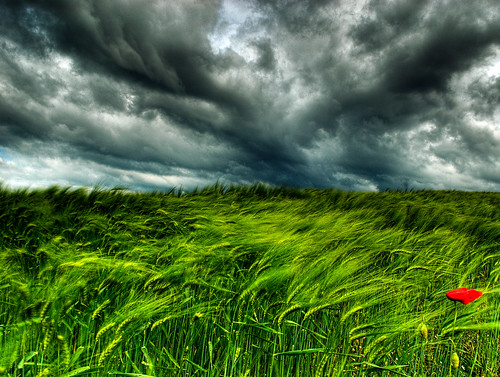
Red Umbrella

Los Tres Magia
It takes a lot of practice to come up with the drop dead gorgeous photos such as the above. You know the steps and have the equipment, so it’s time to put those theories above to use.
Jasmine is a professional web consultant who is thrilled to share her web design and web hosting experiences. She blogs on her web hosting review site. Her favorite web host is Bluehost. Do check out her website for great web hosting deals.

Add Comment